
Ever since I got my new laptop I knew that I was going to buy a SSD. Being a tech lover, I love having a quick and snappy computer. In my opinion my laptop fulfills all those wishes, with an i7 6500u, 16 GB of RAM, a 920 mx Nvidia GPU there is plenty hardware for my needs. Except for the HDD (hard disk drive), which was making my computer look like a 2010 toaster.
If you don’t know the difference between a HDD and a SSD, be sure to check out the HDD vs SSD post !
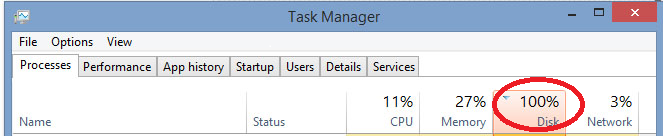
To be sure that the problem was the HDD I ran a simple test:
I opened task manager, which can be done by simultaneously pressing CTRL ALT DEL. After that I ran all the programs which I knew were slow, all to confirm my suspicions, the HDD was bottlenecking my system.
After that I chose a SSD (solid state drive), which are known to be several times quicker than HDDs. Now I had to choose a SSD, my choice was the Samsung EVO 750 (the 250 GB variant), it is a 2.5″ drive that meets my needs, an affordable, but still quick SSD. I downgraded in storage (from 500 GB to 250 GB), but since I don’t really need that much storage, the 250 GB are more than enough for me.
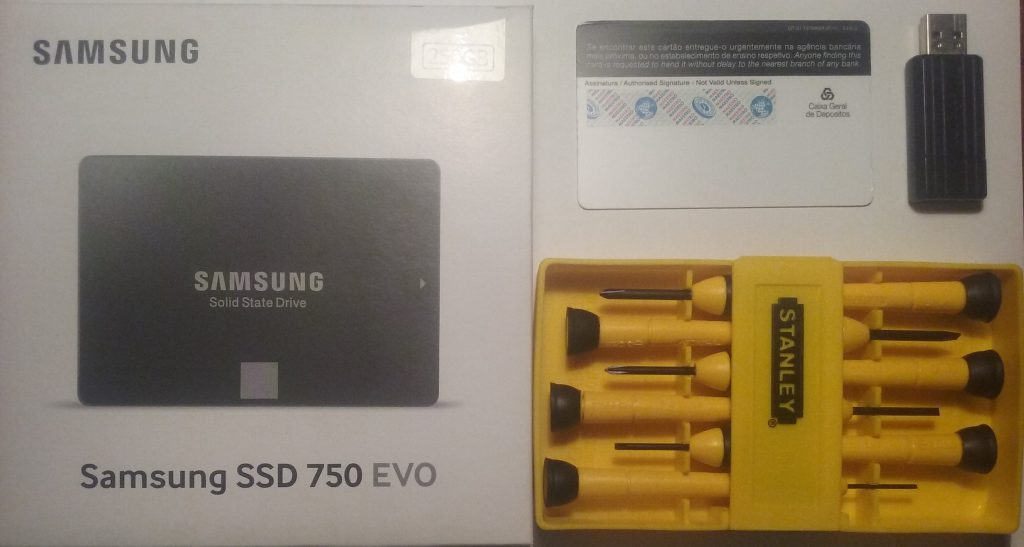
You will need:
Tools for unscrewing screws;
An old credit card (a thin plastic tool also works);
An USB flash drive with at least 4 GB of memory;
A SSD;
1 – Go to microsoft’s official page and download the windows installation iso file into your USB flash drive.
2 – Backup all the important data from your computer.
3 – Turn off your computer and unplug all the cables from it.
4 – Unscrew the screws and separate the keyboard section from the base.
Getting that credit card in was easier said than done …
5 – Find the HDD cage, unscrew it from the motherboard and unscrew the HDD from the cage. Then screw the SSD into the cage, screw the cage back into the motherboard and proceed to undo the step 4.
6 – Plug the USB flash drive with the windows installation in the computer.
7 – Start your computer (in case it doesn’t turn on, plug the power cable in).
8 – You should now find the BIOS screen, go to the BOOT section and if you find the Boot Option Priorities locked (like I did), just restart the computer and the windows installation will show up!

If you have problems with the windows installation, be sure to follow this guide:
http://www.howtogeek.com/197559/how-to-install-windows-10-on-your-pc/